Set up the member portal
Do this once, before you add members. You choose which parts the portal has, what it is called, and what its login page says. You need to be a Site Admin or an Admin: a Manager cannot open Site Settings.
Turn the portal on and choose its parts
- In the admin panel, open Site Settings.
- Choose the Features section.
- Tick or untick the six member portal switches (below).
- Press Save.
All six are on for a new site.
| Switch | What it adds for members | What it adds to the admin menu |
|---|---|---|
| Member portal | The portal itself: its login page, its Home page, and the link to it in your site's footer | Members |
| Member portal: announcements | Announcements on the portal's Home page, and the Email preferences card under it | Announcements |
| Member portal: schedule | The Schedule page, and Coming up on the Home page | Schedule |
| Member portal: rehearsal tracks | The Rehearsal Tracks page | Rehearsal Tracks |
| Member portal: files | The Files page | Member Files |
| Member portal: useful links | The Links page | Useful Links |
Member portal is the main switch. With it off, the other five do nothing: the whole portal is closed, its footer link is gone, and its addresses send visitors to your home page.
Switching a part off hides it. Nothing is deleted: switch it back on and your announcements, events, tracks, files or links are as you left them.
For every switch on your site, see Switch pages and features on or off.
Name the portal and word its login page
- Open Site Settings and choose the Member portal section.
- Fill in the three boxes at the top (below).
- Press Save.
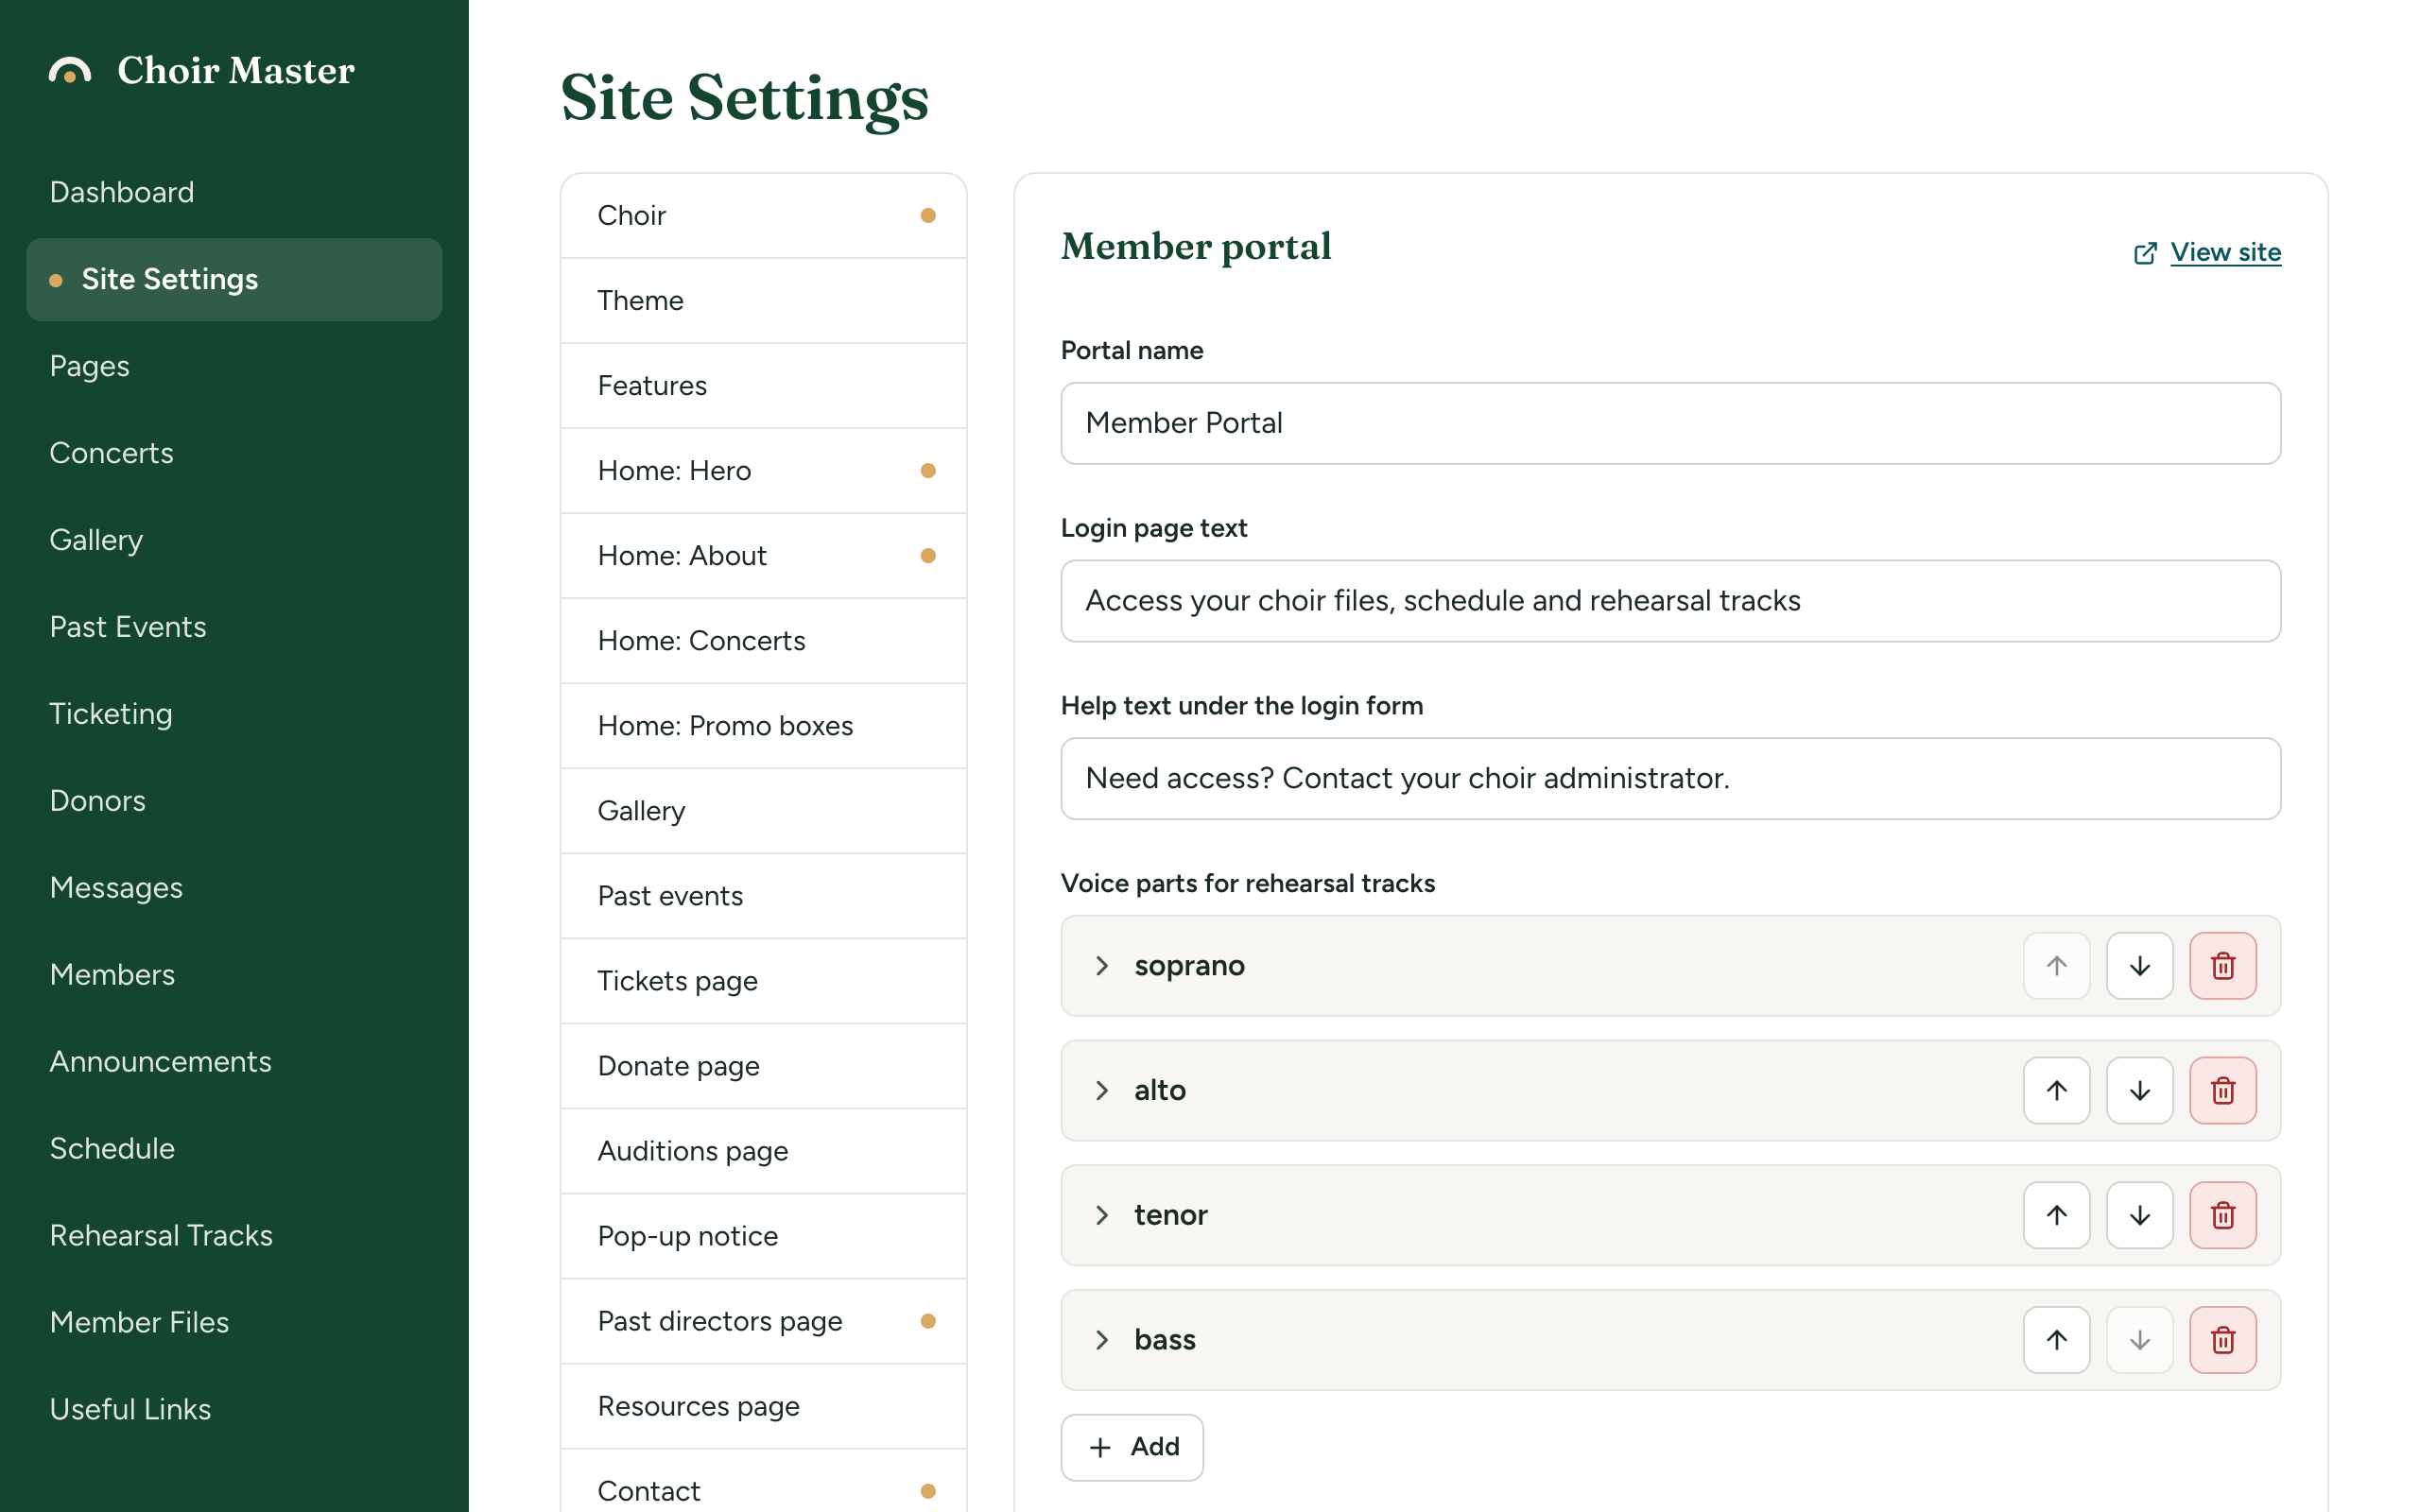
| Setting | What it is for | Starts as | Limit |
|---|---|---|---|
| Portal name | The name of the portal. It is the heading of the login page, the words beside your logo at the top of every portal page, and the label of the link in your site's footer. If you leave it empty, "Member Portal" is used. | Member Portal | 80 characters |
| Login page text | One line under the heading of the login page. If you leave it empty, your choir's name is shown instead. | Access your choir files, schedule and rehearsal tracks | 200 characters |
| Help text under the login form | A line at the foot of the login box, for telling someone what to do if they cannot get in. Leave it empty to show nothing. | Need access? Contact your choir administrator. | 200 characters |
Put a name or an address in the help text, such as "Need access? Email membership@example.org." A singer who is not on your list is never told so by the login page, so this line is the only pointer they get.
The rest of this section
The Member portal section of Site Settings has two more groups of settings, each with its own page:
- Voice parts for rehearsal tracks: see Set up your sections and voice parts.
- Members can see the list of members and the five Member list: show ... switches: see Let members see who else is in the choir.
Where members find the portal
The link is in the footer of every page of your public site, under the heading Portals, labelled with your portal name. Its address is your site's address followed by /member, for example https://example.org/member. You can change the heading in The footer.
Next
- Add, change, disable or remove members or Import your member list
- Send your singers How members log in